10/28/14

Tutorial Tuesday - Halloween Printables for your Party

love this FREE Halloween Printable!
Halloween Printable from SugarBeeCrafts

Can you believe that Halloween is just around the corner?

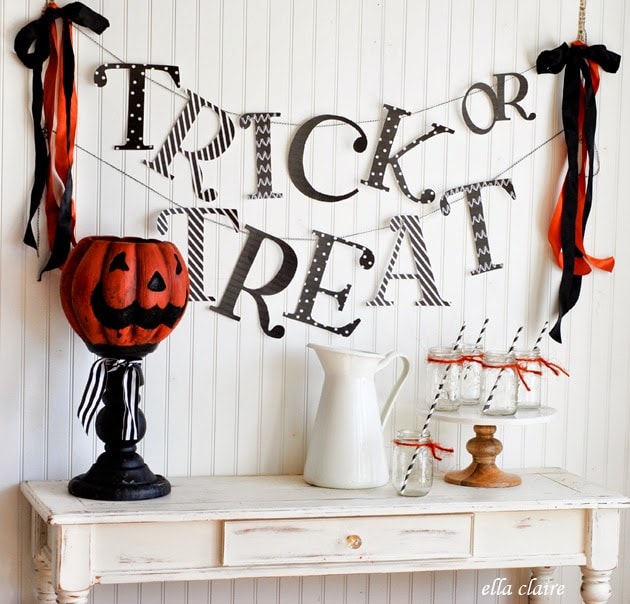
Trick or Treat Banner from Ella Claire

Here are some free printables to get your party started. Thank goodness there are so many clever bloggers to who have already shared their favorite October images! (Psst... some of the links, like Ella Claire above have additional links to even more Halloween freebies.) 

Johanna Parker Freebie from My Owl Barn

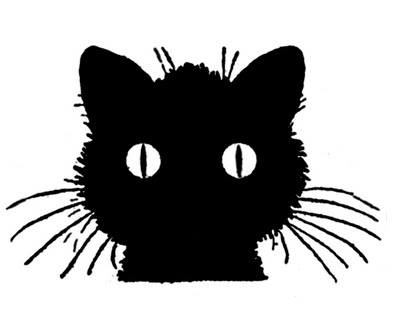
How cute would these cats & owls be as cupcake toppers?

Free Halloween printable available in black and white and three other colors.
Wicked Witch Halloween Printable from This Is Really My Life

Click the captions below each photo for details/printing instructions.

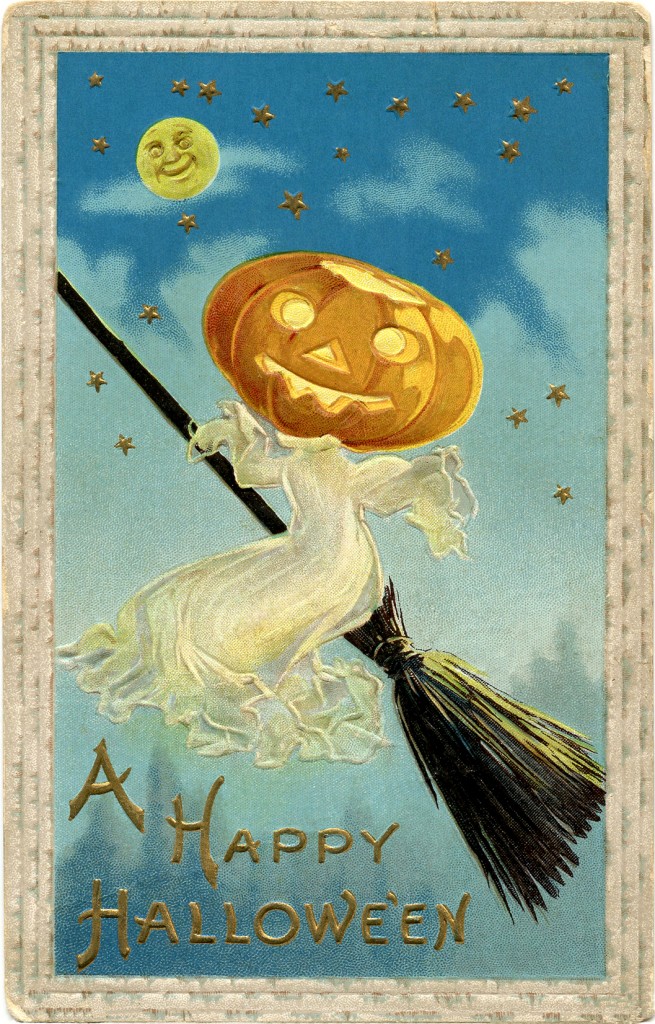
"A Happy Halloween. Hold your candle steady and keep a sharp lookout, for back among the shadows you'll see goblins peeking out"
Free Vintage Halloween Witches from Vintage Holiday Crafts

Just for kicks here are some vintage images to play with. Visit the two sites in the captions and toss 'Halloween' into the search bar to find more classic not-so-spooky antique pics, perfect for invitations (or just for fun).

If you are seeking more spooky freebies: Click Here for an assortment of creepy beverage labels, Here for some cute black and white decorations, or here to visit my Halloween DIY board on Pinterest.

And if you are reading this before 1 a.m. EST on 10/31/14 be sure to leave a comment. This will enter you in the random drawing for a book of "true" Tampa area ghost stories by Deborah Frethem.


10/27/14

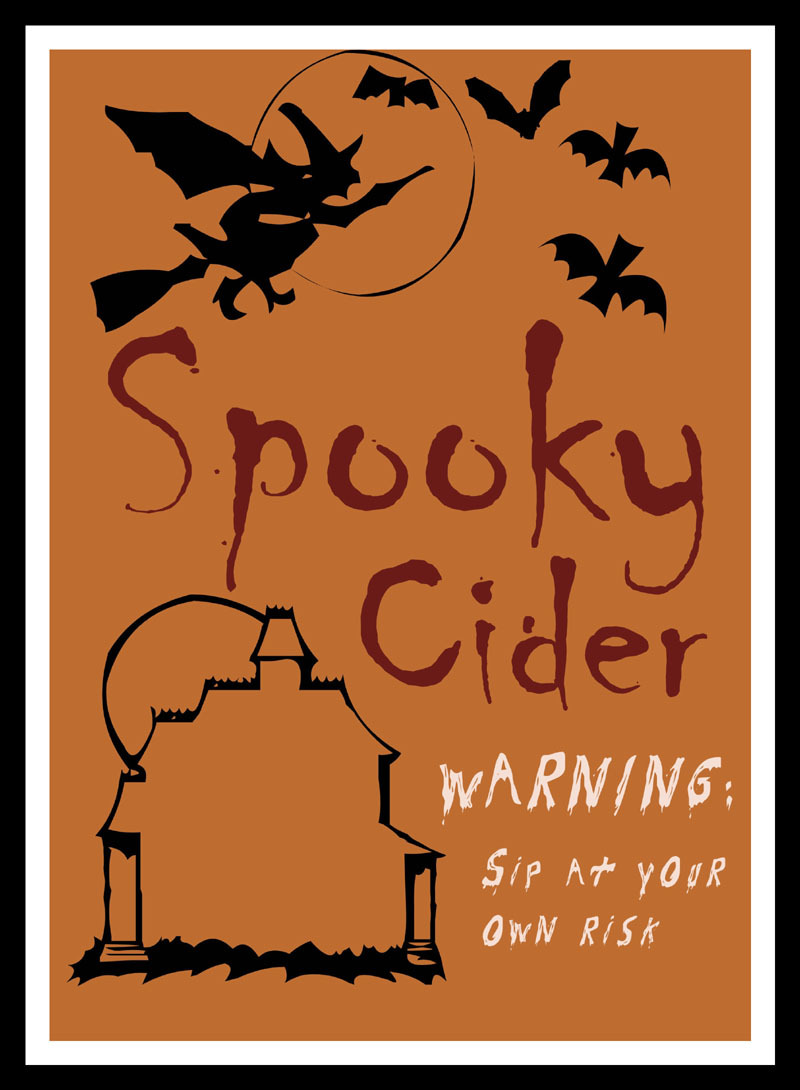
Free Printable Poison Labels for your Halloween Libations

Poison Bottle Label
Poison Bottle Labels from HP

Spooky! Printable! Free! (3 of my favorite words)

Free Printable Halloween Bottle & Potion Labels from TwoCraftyPaws 

Spice up your Halloween bash! Wrap those beverage bottles with these fun labels from around the web.

Kid Friendly Halloween Labels from CentsationalGirl

Click the link below each picture to visit the sites for instructions. In some cases, like the one just above, you'll also find more images to choose from.

Free Printable Black & White Halloween Bottle Labels
Printable Halloween Bottle Labels from FunHouse

Did you catch the black and white creepy cute images I shared last week? If not click here. 

Free Halloween Printable labels from CraftyChicksCuppaCoffee

Also pop back tomorrow for another set of Halloween printables, I'm thinking signs and vintage images.

Vintage Poison Labels from ManMadeDIY

Like the idea but not the labels? Make some of your own using a few of these free frightful fonts rounded up by Ella Claire Inspired.

15 fabulous FREE Halloween Fonts with links to download! Perfect for Halloween Crafting, Projects, and Party Decor
My Favorite Free Halloween Fonts from EllaClaireInspired

Final Note: If you haven't entered the latest random drawing, leave a comment on this blog before 1 a.m. EST on 10/31 & get your name tossed into the witches hat. Thursday's winner will receive a copy of Deborah Fretham's book, Haunted Tampa from the Haunted America series. Click here for details.

10/21/14

Free Halloween Printables for Tutorial Tuesday

halloween-glasses-card
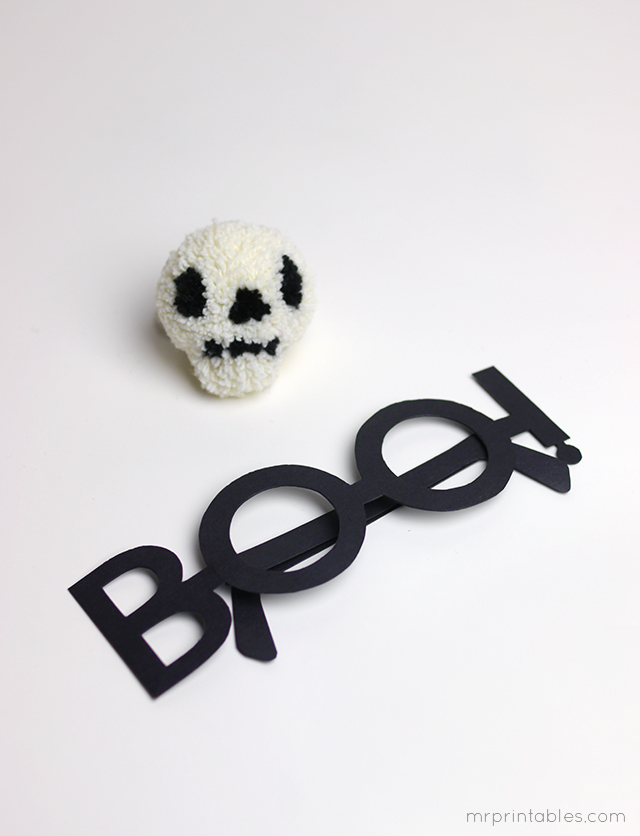
BOO! Halloween Typography Glasses from Mr. Printables
This. Is. Awesome!

Halloween shadow puppets from Chez Beeper Bebe
Have you looked around the web for some free Halloween printables, yet?

Vintage Kids Printable, Draw Some Cats from Graphics Fairy
There are so many fun ones to choose from!. 

Today I'm enjoying these super cute and not-so-spooky black and whites. Click the links under the pics to visit the sites where you can download the images.

Free Black & White Halloween Clip Art from Hub Pages
Be sure to pop back next week for links to more free images for your Halloween  projects.... I'm thinking creepy apothecary labels, vintage images and fancy fonts.

Did you catch the links to Easy DIY Halloween Paper Crafts last week? If not, click here.

And if you are here before Oct. 31st, leave a comment to enter my drawing for a book of local ghost stories, Haunted Tampa, Spirits of the Bay.


10/17/14

Small Art / Big Cause - Five By Five fundraiser at the Tampa Museum of Art Tonight

Like Art?

Live near Tampa, Florida?

Looking for something to do tonight?

Once again it is time for Five By Five at the Tampa Museum 
of Art. Enjoy art, music and munchies during this annual 
fundraiser for the Hillsborough County Arts Council. 

This is your chance to take home original artworks, all priced at 
$25 each. Over 450 pieces were donated by artists worldwide. 
But here is the twist... All pieces remain anonymous until 
purchased. I do have a canvas for sale at this event and will 
share a picture this weekend once the party is over. 

Want to check out the art but can't make it to the party?
Click Here for the online gallery. For more info, here is the flyer
 from the Arts Council:

Join Us Tonight!

Remember that date you saved for us? It's here! Tonight is going to be a great celebration for artists, performers, art supporters and advocates of the arts. The Arts Council's FIVE by FIVE is a fantastic evening showcasing visual and performing artists and helps us raise funds for individual artist programs. 

Friday, Oct. 17, 8-11 pm

Tampa Museum, Downtown Tampa

This year's visual art exhibition features more than 675 pieces of 5"x5" art and the museum has allowed us to be in the main atrium this year for better viewing. Submissions came from 467 artists in 24 states and four other countries. The work is in a wide range of mediums and can be seen in the online preview gallery. Each piece is available for $25 to raise funds for individual artist programs from the Arts Council. 
In addition to the exhibition, there are fantastic live performances throughout the night from a variety of professionals in dance, music, theatre and spoken word. Attendees also may visit the museum’s second floor exhibitions including the new Renoir to Chagall: Paris and the Allure of Color showcasing 55 masterpieces from the renowned collection of the Dixon Gallery and Gardens.  

WHAT YOU SHOULD KNOW

Sale of Artwork: Our 5"x5" artwork is available for purchase beginning at 8 pm for $25 each. Purchased art can be picked up beginning at 9 pm. Previews of available artwork at this year's exhibition can be seen online at FivebyFiveTampaBay.com
Admission: The museum charges $10 admission and that money benefits the Tampa Museum of Art. Museum members get in free so be sure to bring your membership card. The museum closes early (at 7:30 pm) and reopens at 8 pm for our FIVE by FIVE 2014.
Parking is available in the adjacent Poe Garage, at private pay-to-park lots and at street spaces nearby (no meter charge after 6 pm). Please be aware there is an event in Curtis Hixon Waterfront Park that begins at 7:30 pm, so plan to arrive early.
Check FIVEbyFIVETampaBay.com after the event where we'll post a new gallery of work still available for purchase. Please give us a couple of days to get that done. 
THANK YOU TO OUR SPONSORS

AND SUPPORTERS
Mark C. Anderson
Donovan Audio Design   |   Flip Flop Productions

All art at FIVE by FIVE is available for purchase for $25 each. Proceeds benefit the individual artist programs of the Arts Council. 
STAY IN TOUCH
Get Our Facebook Posts when you Like Our Page 
Follow Our Tweets on Twitter 
Visit Our Main Website: TampaArts.com
Our Art Events Calendar: ArtsTampaBay.com
Telephone: (813) 276-8250

Copyright 2014 Arts Council of Hillsborough County, All rights reserved.
unsubscribe from this list    update subscription preferences 

1000 N. Ashley Dr., Suite 105
Tampa, Florida 33602
TampaArts.com

PS Sorry about the wonky formatting. Blogger is having the hiccups.

10/16/14

Haunted Tampa book giveaway - ends 10/31


Oooohhh -We have a spooktacular Thursday Giveaway today! 
(Sorry, couldn't resist.)

This summer I picked up a couple of copies of Deborah Fretham's Haunted Tampa at the Henry B. Plant Museum, Then I tucked them away"in a safe place".... and promptly forgot about 'em. While finally tidying up my creative space, they reappeared ... just in time for Halloween! So, I'll be scaring my family and friends with one copy and giving the other to a random winner on October 31.

Here is the blurb from amazon:

"Tampa may be known for sunshine and good times, but it has a scary side. When dusk settles down over the Hillsborough River, spirits begin to stir. Strange things happen in old hotels, theaters and public buildings, and an old cemetery becomes surprisingly lively. Some have seen an old crime boss walking the street. Some have encountered ancient spirits in a public parking garage. Still others have met a long-dead soul in a downtown shop. Join local author and historian Deborah Frethem as she navigates the twists and turns of the more macabre side of Tampa Bay."

If you are a fan of local legends and ghostly tales, be sure to enter this random drawing. All you have to do is leave a comment on the blog before 1 a.m. EST on 10/31/14. This drawing is open worldwide and prize ships free to the lucky winner. 

Good Luck ... and Happy Haunting!

-----------
P.S. If you are looking for fun and easy Halloween projects pop back here each Tuesday before the end of the month. Click Here to visit the Paper Craft DIYs that I shared yesterday

10/15/14

Tutorial Tuesday - Easy Halloween Paper Crafts

DIY Halloween Invitations // Minieco
DIY Halloween Invitations from MiniCo

Halloween was always my favorite holiday as a kid, even better than Christmas! 

DIY Halloween from ZuGalerie

Between the spooks, sweets, scary tales and crafts, all my faves are covered! 

pumkin fall craft
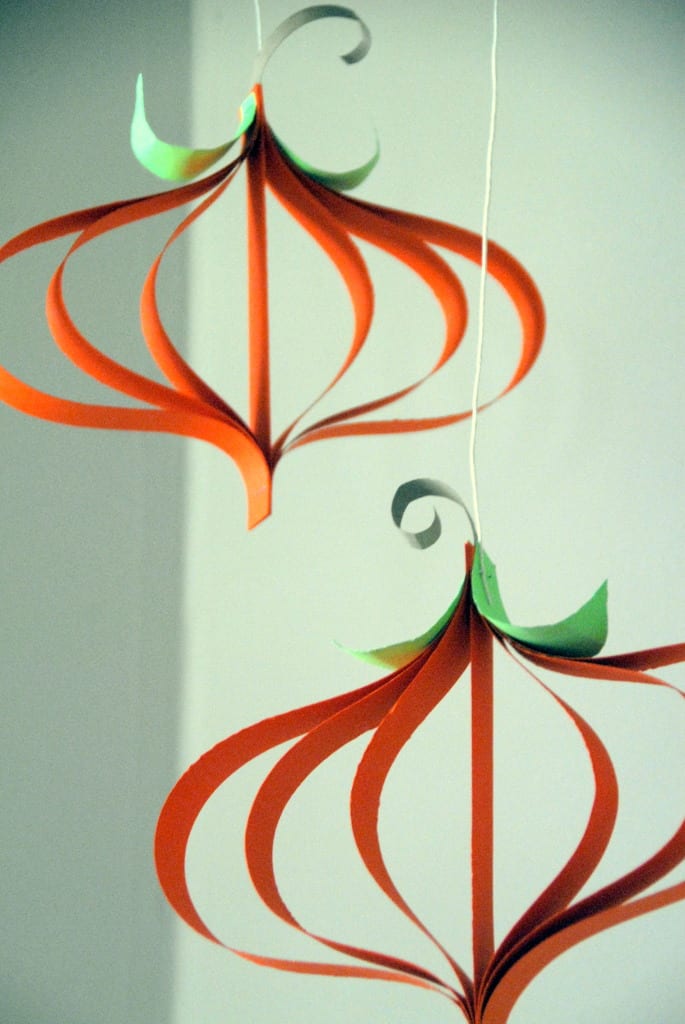
Paper Pumpkin Craft Tutorial from Meaningful Mama

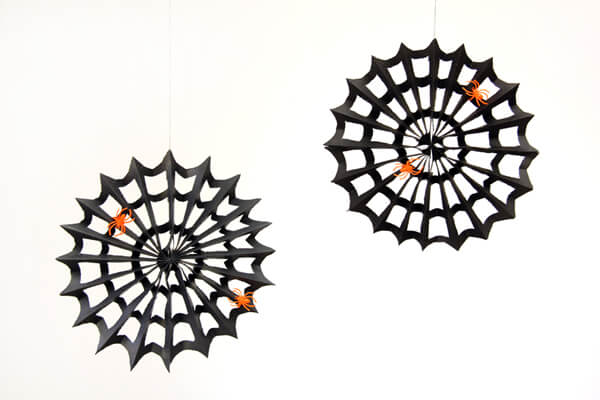
Today I'm sharing some easy paper projects I've found around the web. 

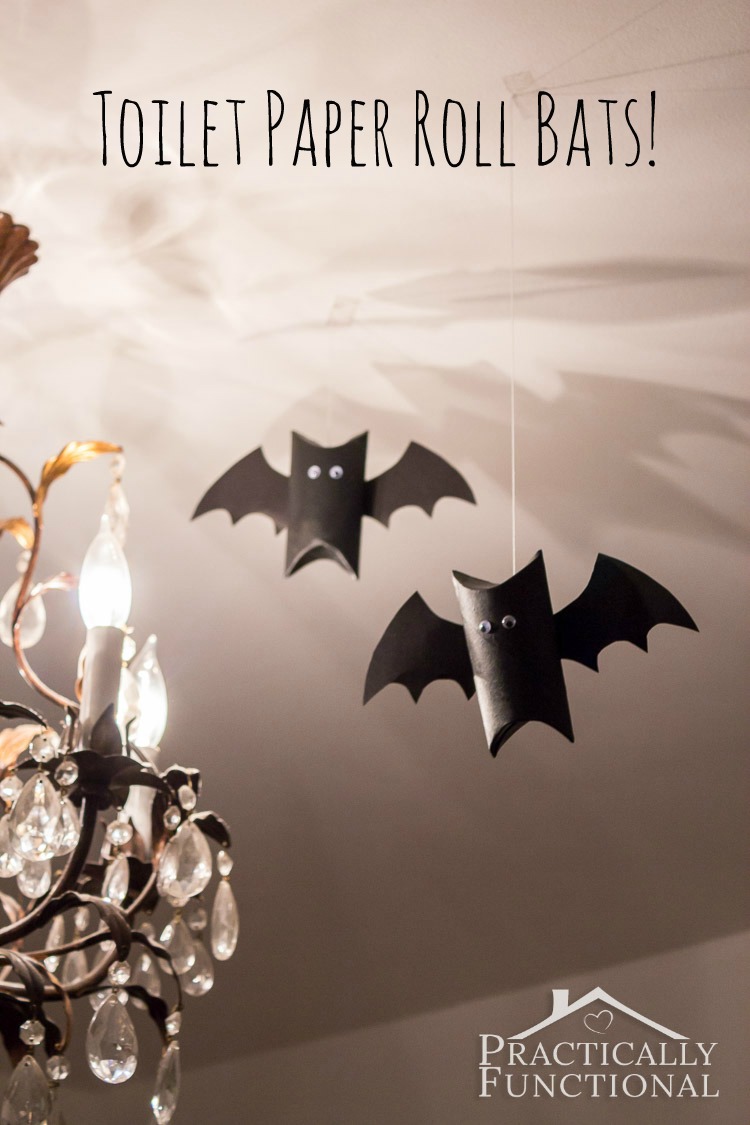
Toilet paper roll bats are the perfect quick and easy Halloween decor craft for the kids!
Toilet Paper Roll Bats from Practically Functional

Click the links below each image to visit the tutorials.

Glowing Eyes from Rust & Sunshine

If, after the bats, you have left over toilet paper rolls, pick up some glow sticks to make a horde of cool glowing eyes.

DIY Paper Pouch!
DIY Trick or Treat Ghosts from Pizzazzerie

For more Halloweenie projects, visit my board on Pinterest. Need more? Click here for oodles of creepy crafts.

Falling into Fall with Studio DIY

Be sure to pop back Thursday 11/16 for a new giveaway announcement - with a spooky prize, of course! And again next Tuesday for links to some of my favorite free October-themed Printables.

10/1/14

DIY Faux Leather Sorcerer's Book from Kraft-Tex paper


When my son asked me how to make an antique leather sorcerer's tome for a school project, the first thing I thought of was Kraft-Tex paper from C&T Publishing. It is easy to work with and can be altered to look like leather or fabric, depending on what treatment you apply... and I had just enough left over from another project.


A quick disclaimer: While this is not a sponsored post, I am a member of C&T Publishing's Creative Troupe. Design Team members are not paid but do receive free supplies and discounts on C&T products. C&T sends members cool materials to play with and then we send back our creations with tutorials. Sometimes the pieces are used in product design or published in books. Some are used at trade shows as examples of what can be made with the material. Last year my faux leather butterfly mask (made from "natural" colored Kraft-Tex) was used on the back of the product packaging.  Want to see more items made with Kraft Tex? Check out this Flickr photostream.

On with the show! For this project you will need:
1 book  & enough Kraft Tex to cover it.
brown and red ink pads
optional rubber stamps (Judykins Porcelain & Hero Arts s5449 used)
pencil
markers
acrylic paints (gold and iridescent white were used here)
scissors
glue (Aleene's Tacky glue & Krylon spray adhesive were used, but others will work too)
paint brush, knife or plastic card to spread wet glue
binder clips, clothespins or other small clamps
Krylon matte spray fix 
large bowl of water or washing machine
iron 


1) Measure and cut out approximately how much Kraft Tex will cover the book. Leave extra around edges, as you will fold them over and glue to inside of book cover.


2) Crumple the paper and either soak in water or put in washing machine and run a short cycle (without soap). Crumple wet Kraft Tex again and either hang to dry or put in dryer at lowest setting. You want this to be as wrinkly as possible. The surface will also get roughed up, resulting in a softer finish that is more like leather/fabric than paper. If necessary repeat until you get a finish you are happy with. The Dude went with one washer/dryer cycle  plus a long soak/hand dry to get the look he wanted.

3) Since he needed to flatten the Kraft Tex before glueing, I helped him with the iron (set med/low with no steam). After ironing, leave some wrinkles and waves. You want this texture.

 4) Decide which side will be your book cover. Place it face down. Using the pencil, trace the book on the backside of your Kraft Tex cover. At this point, spray adhesive on the book's original cover (or coat with glue) and, starting with the binding, place the book inside the lines you traced. Smooth the paper to push out any major air bubbles as you go. Minor bubbles and wrinkles add to the "leather" texture. Let dry.

5) Fold the extra margin of paper over book's edges. Trim as needed. The binding area will not need as much of a margin so trim that very close to the edge of book, leaving just a bit Kraft Tex there. (See a few photos down for example.) Glue edges and clamp with binder clips or similar until dry.


6) For a finished look inside your cover, glue down the first and last pages of the book to the inside cover. At this point the Dude figured out that pants hangers made perfect clamps. Let dry


7) Now for the fun part! He started with the porcelain crackle stamp covered in brown ink, but then decided that was too subtle and started rubbing the ink pads around the cover. The raised wrinkles picked up the most ink, adding lots of lines and texture. The faux leather look was coming along nicely. (Sorry, my photos aren't the greatest.) The Dude then decided to kick it up a notch, rubbing red ink all over everything.


8) He then added a subtle gold filigree. Originally he was going to go over it with a gold paint pen, but decided the faded look added to the "aged" vibe that he wanted. Once the inks are dry, spray with a matte clear finish. This will set your ink and also tone down any harsh gold color.


8) Oops! Almost forgot to glue the binding edge. A touch of glue, a fold and tiny clip... and all is well.


9) Paint the front as desired. This is his interpretation of the "Eye of Horus" done in markers, gold and iridescent white acrylic paints. 


10) Once your Wizard's Tome is dry, grab your grimoire and give your best maniacal laugh - mwah -ha - ha - ha!